Interior Parts and Pieces
Here is a shot of the finished gauge cluster. The clock was built from a bucket of parts I had! My grandfather had a saying, "There's only two kinds of people that will open the back of a clock (watch, etc.), a jeweler and a damned fool. Which one are you?" I was thinking of him during the entire assembly stage of that clock. LOL! BUT, nevertheless, it works perfectly. The clock is on the right, the speedometer is on the left. In the middle is the fuel gauge on the left and the temp. gauge. Two "idiot" lights are GEN and OIL, which will also be covered by adding two non-stock gauges to the final dash assembly.
NEW PARTS CAST!!
The top pic shows the interior arm rests. The two on top are new cast reproductions by a fellow Hudnut in Washington state, by the name of Rob Fayette. Rob's e-mail address is:
HETdiner1000@comcast.net (drop the HET before sending)
The bottom armrest is an original stock one.
Bottom pic shows the power window switches. These ivory-colored pieces are also new reproductions done by Mr. Fayette.
Mr. Fayette does outstanding work. Click on the pics for a larger view. The color and finish of these pieces are flawless and have no equal. They look far better than the originals.
Stay tuned as we are looking into casting steering wheels on old, worn-out cores. The quality of the new wheels would surely have no peer.
DOOR SILLS
Here are some "before & after" shots of the door sills. The one on the bottom has not yet been re-worked, the top one is completed. The single door sill in the middle photo is the same one that has been restored. The goal was not to make these look brand new ( or "renewed"), but, rather restored to like new while still retaining some character that the decades have brought.
The brushed finish was accomplished by straightening, de-denting, filing, sanding straight down the length of the sill, re-painting and touching up where necessary and completing with a couple coats of lacquer.
Click on Pictures for a larger view.
Finish Bodywork and Panel Fitting
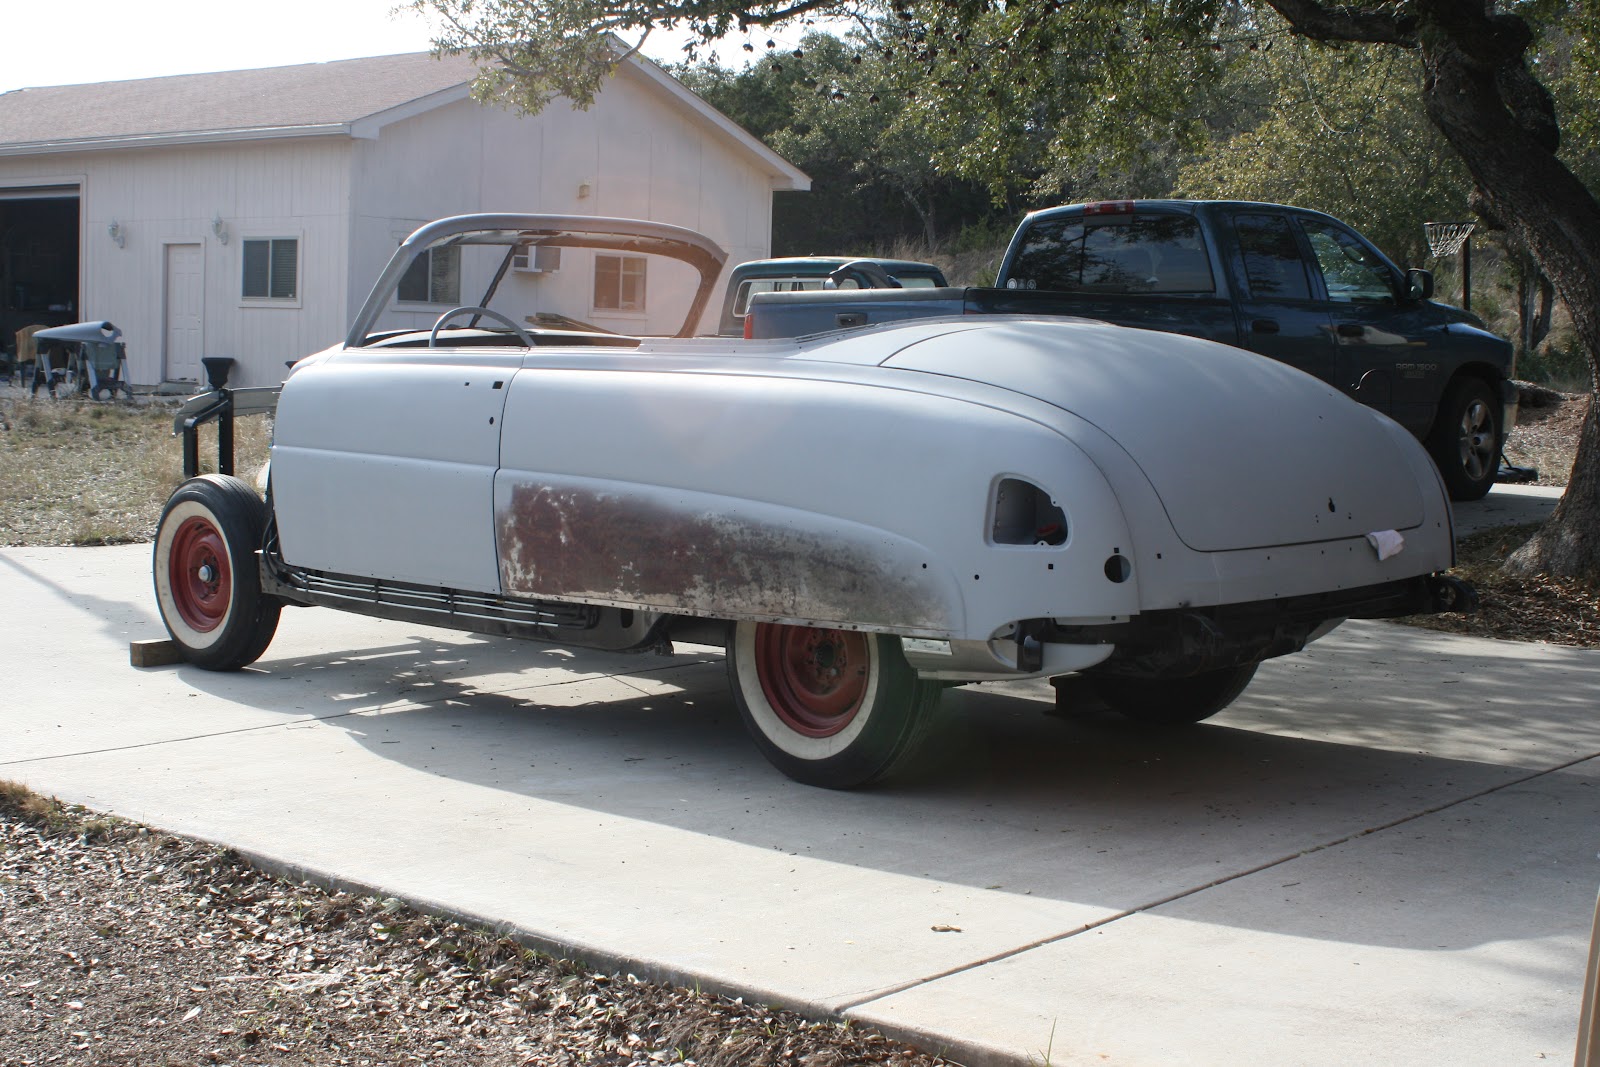
Body Progresses Along
Here's the latest photo. I'm currently doing the final blocking and panel fitting in preparation for paint. Because of all the extensive initial bodywork, I am now past the 2900 man-hour mark. The pics to follow show some of how we got to our current condition.
Notice the Rocker Panel is clamped on the passenger side. Hudson step-downs are unusual cars in that the bottom of the quarter panels are "fly-away" panels. Rockers have to be mounted to frame and quarter before final blocking can be done.
The two pictures above show all the main body panels in place. It took about 40 hours per door to get them tweaked and fit properly. The passenger door had a bad twist to boot, and had to be racked back into shape. Also note the loose fitting of the front fenders at this stage. This was the beginnings of getting them into shape and properly fitted to the car.
Top picture shows the hydraulic lines for the power top and windows. Bottom picture shows a plate from the '52 Group Parts Catalog. If you click on the pics for a larger view, I think we got the lines just about right. There is over 100' of 5/16" hydraulic lines. This is just a portion of it, but all of these have to be in place before the rocker panel can be mounted.
Close up of the lines coming out of the driver side of the cowl.
This is the switch that controls the movement of the convertible top. It is located under the dash on the driver side. The hydraulic lines go out the driver side of the cowl and down behind the rocker (see above photo).
Notice the rocker panels are now painted and cleared, and the front fenders are now mounted to the 'U'-shaped radiator bracket. The insides of the quarters still have to be painted black, and the rubberized undercoating has to be applied to the insides of the front fenders, before the final mounting of the rockers can be completed, followed by the final blocking on the bottom of the quarter panels. Then it will be time to paint the rest of the body.
Also, notice the decklid has been fit, as well. It was pretty close, but about 1/8" (on a 12" length) on the driver side had to be shaved for a reasonable gap all the way around the deck lid. Deck lid still has to be final blocked.
I'm soon to be out of the woods as far as bodywork goes! Almost unbelievable.
All of the silver parts have now been painted and clear-coated. They include rockers, fender skirts, top irons, rear-view mirror, hood latch mechanism, quarter window channels. We've started mounting the quarter window hard parts, along with the top irons. Next post should cover those areas. Stay tuned!